It’s slowly getting to the finishing line. I installed the aquariums with a friend at the beginning of September.
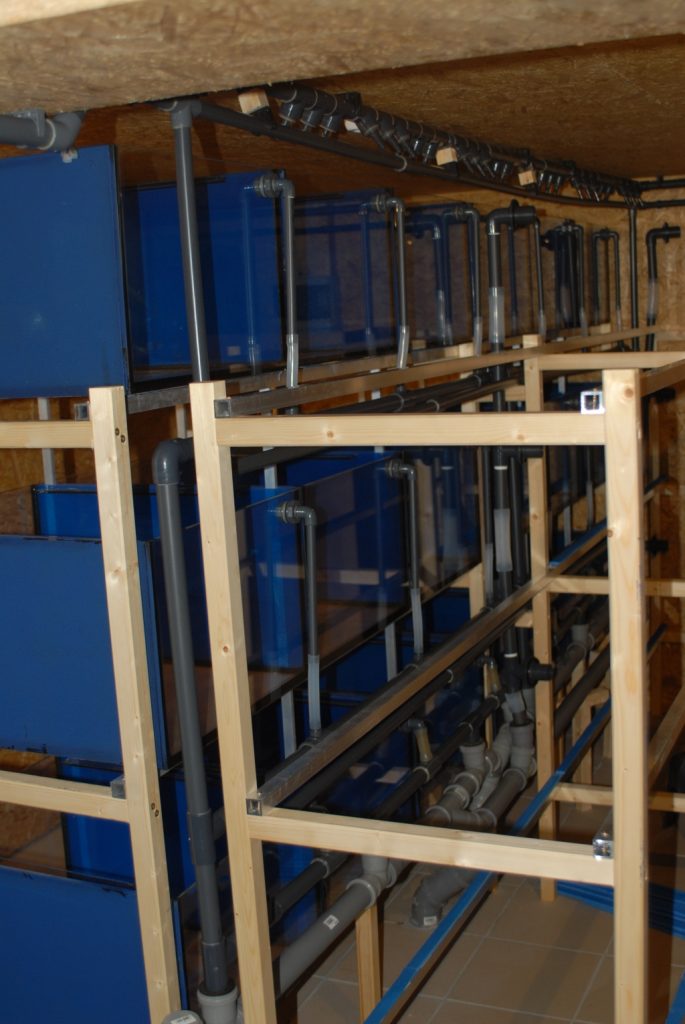
In this picture we are looking at the back of an aquarium wall, you can clearly see the individual outlets from each tank. There are 3 pipework systems, (1) one for the air ring line, the thin one that runs on each level of the individual rows, (2) the ring line for the water on the ceiling with the outlets for each tank (a hose is placed on it later) and (3) the waste water side, i.e. the individual outlets from each tank into a collecting pipe system, from where it ultimately goes into the pond.
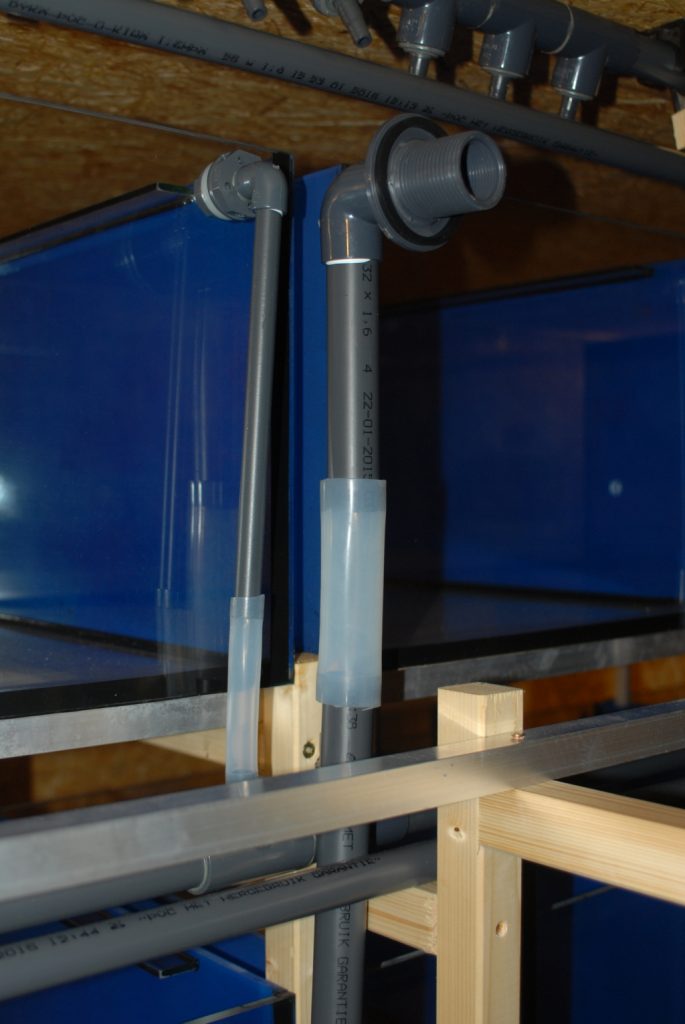
You can see these outlets per basin in more detail here.
This reveals an important detail, namely that the actually rigid pipework for each basin has been replaced by a small piece of silicone. This provides flexibility:
- it doesn’t matter if the pipework doesn’t fit exactly by a few millimetres
- a system like this moves and works.
Nothing can happen now.
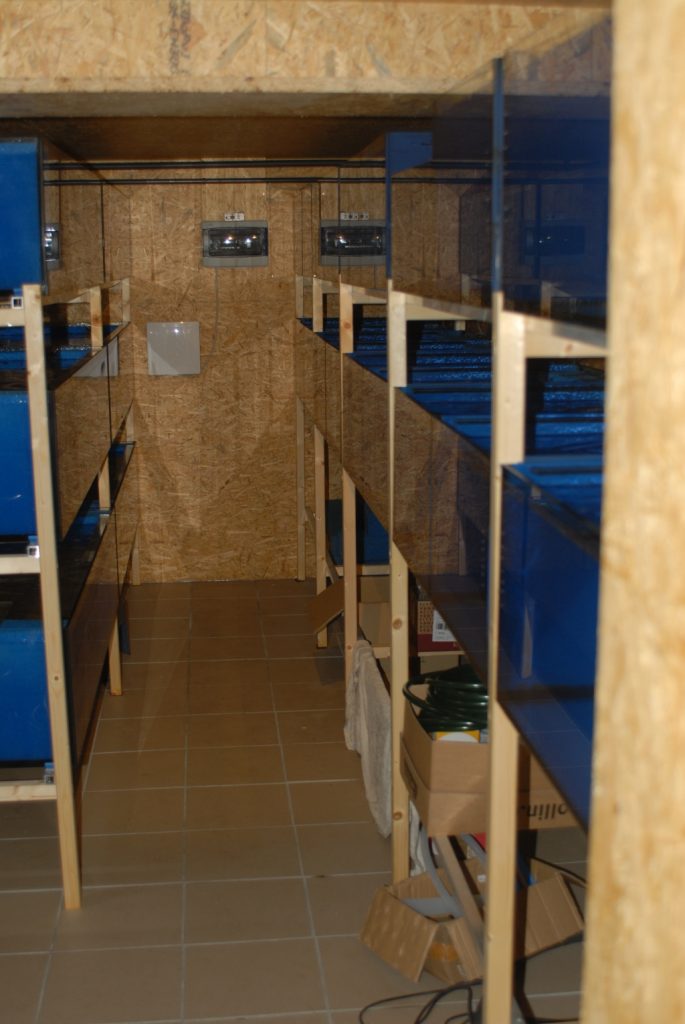
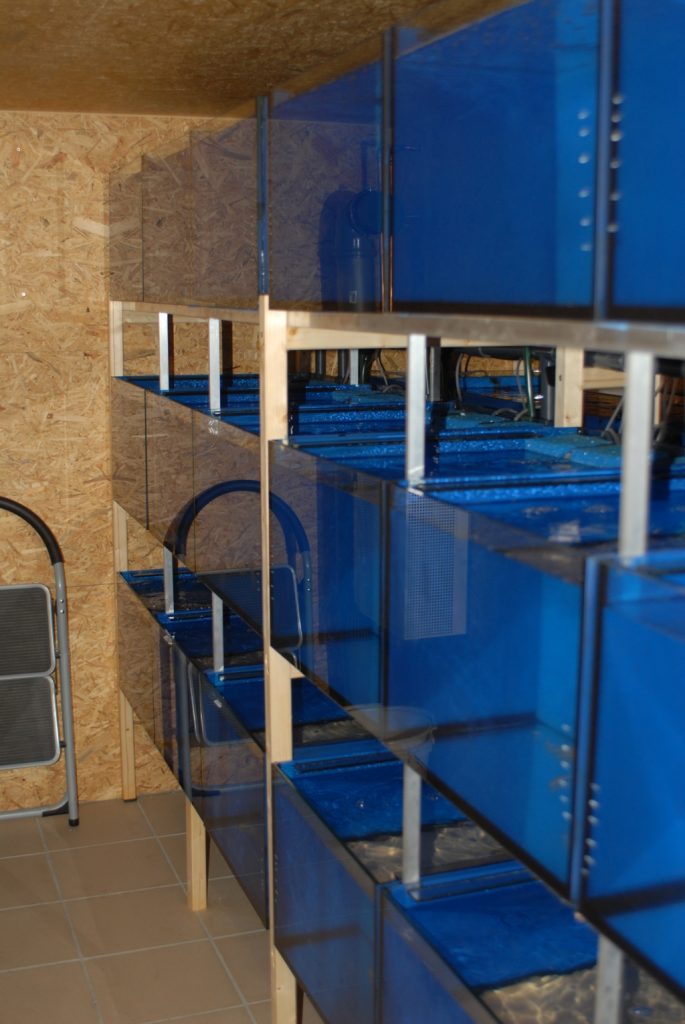
Well, and this is what it looks like when finished:
The long row on the right, the block with the 1.50 pots on the left….
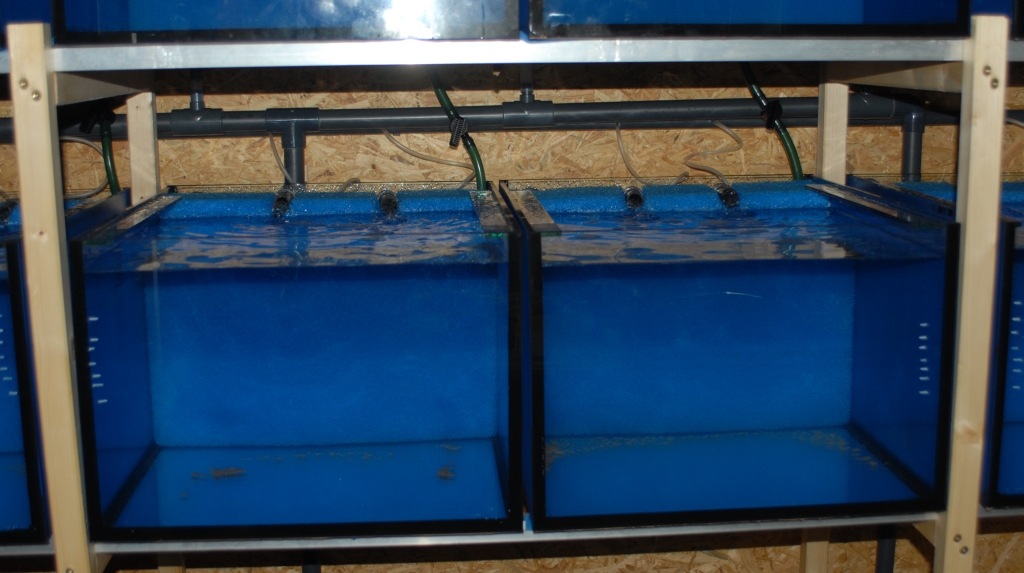
… and here the left block. Water has now been added to all the aquariums. The exciting question was whether the automatic water change system with the feed from a storage tank (see above) into the ring main and then into each tank would work. And what can I say, yes, everything works perfectly. There is more than enough water in each basin. In the meantime, I have adjusted all the inlets so that approximately the same percentage of fresh water arrives at each basin. Extrapolated, this means that I pump 1,500 litres of water into the ring main in around 30 minutes, replacing around 30% of the water in each basin, all at the same time, all without a single action. Well, except for switching on the pump, but even that could be done automatically with a timer.
And this is what it looks like finished, with filters and airlifts (they’re all running now too, currently connected to the replacement compressor, which can be tested properly again in a moment!)
Each tank has an inlet (the green hose with adjusting tap at the top right), an outlet at the top left (all behind the filter) and two air lifters that provide plenty of steam in the tank. And what I have also realised: There is no longer a filter chamber in which fish can disappear, the whole back wall is simply the filter surface!
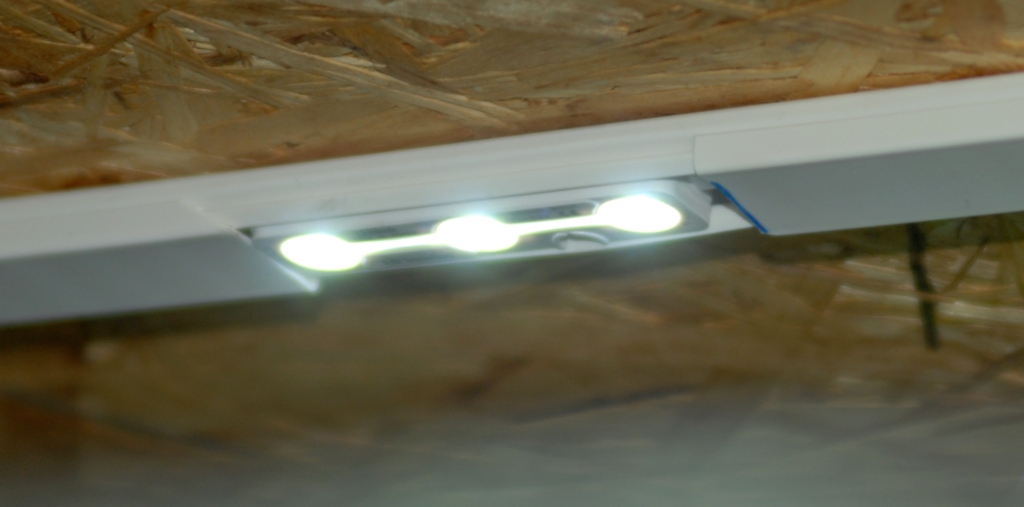
As a final piece of equipment, I installed lighting for each aquarium for the first time. With today’s LED technology, this is not only very simple and effective, but also inexpensive, not only to maintain, but now also to purchase. I chose a system in which 3 LEDs were mounted in the centre above each tank (3×3 for the large tanks), simply clicked into a simple cable duct from the DIY store.
The light is completely sufficient to illuminate a tank for catfish. For all the tanks together, it doesn’t even add up to 40 watts, which was the power consumption for lighting a single 60 lit aquarium in the past!
Now that the system had been completed, it was time to try everything out under real conditions. You can read here how that went and what the results were.

