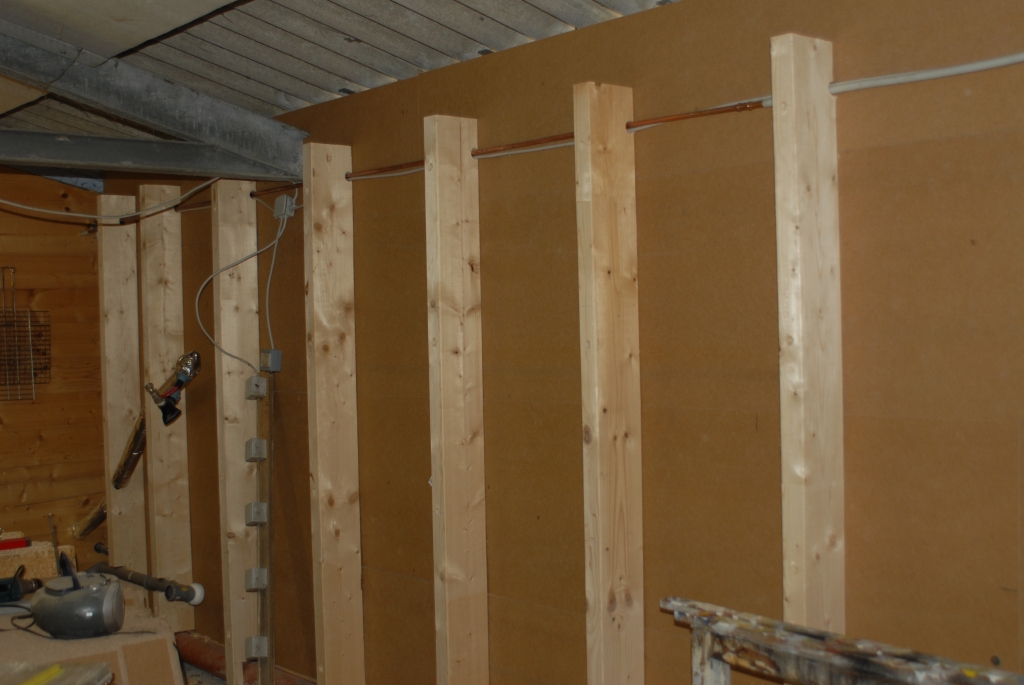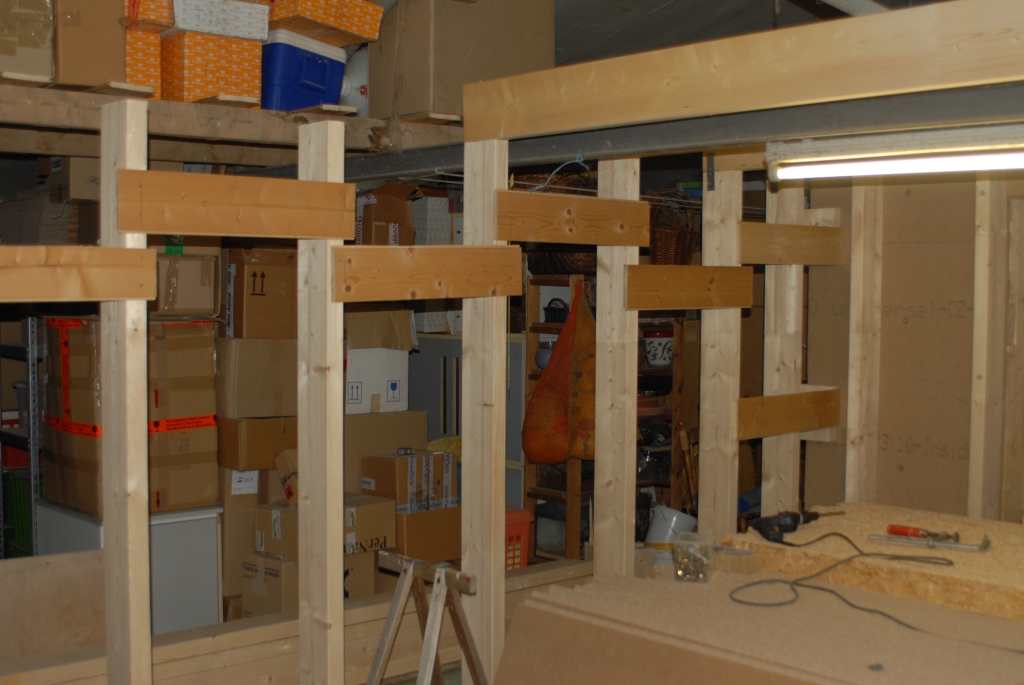
Now the construction of the walls and ceiling begins, which is essentially good carpentry work. I have a certain amount of experience here, as we built our timber house completely ourselves, so it’s business as usual…
The wall structure will be relatively simple: a layer of 22 mm softwood fibreboard on the outside, then the stud frame (walls 160 mm, ceiling 200 mm) for the insulation and a 25 mm OSB board on the inside. This enables us to achieve quite acceptable U-values of 0.17 W/m²K and 0.15 W/m²K. Now that we have the basics (floor, walls, ceiling, room size, surrounding walls, etc.), we can use the U-value calculator (www.u-wert.net) to calculate the theoretical heat requirement (at an indoor temperature of 28 °C). This is ultimately needed to determine the required kW for the heating. The result is the smallest possible gas heating system with 2.5 kW, the annual consumption will be moderate at around 2,300 kWh.
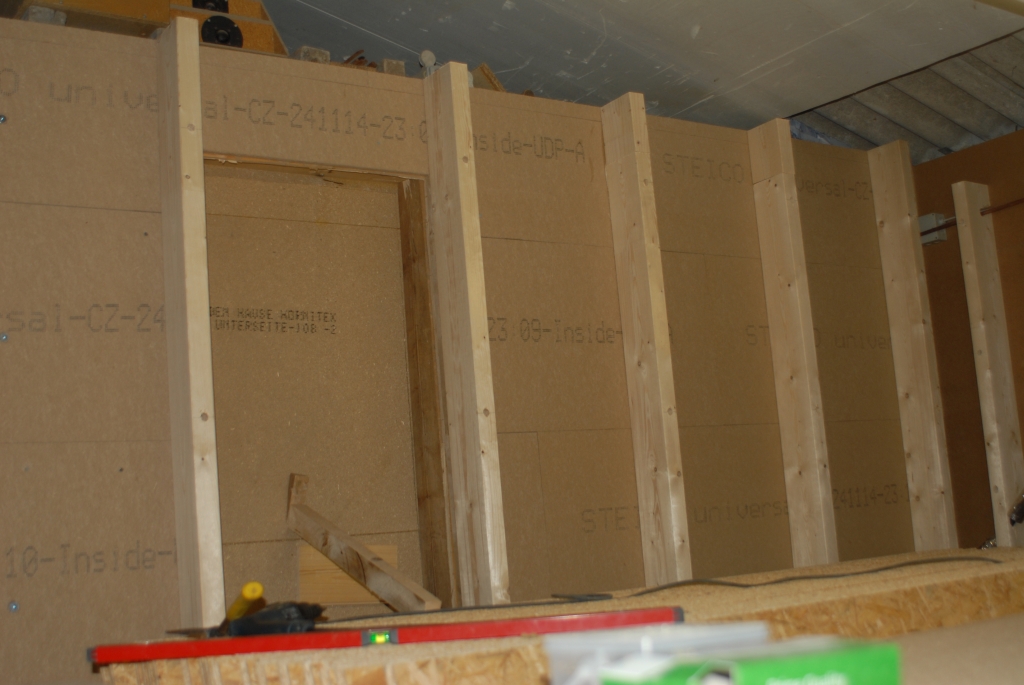
In this picture you can already see the door cut-out, this room is also accessed through the existing anteroom, a great airlock to minimise heat loss when entering the breeding room.
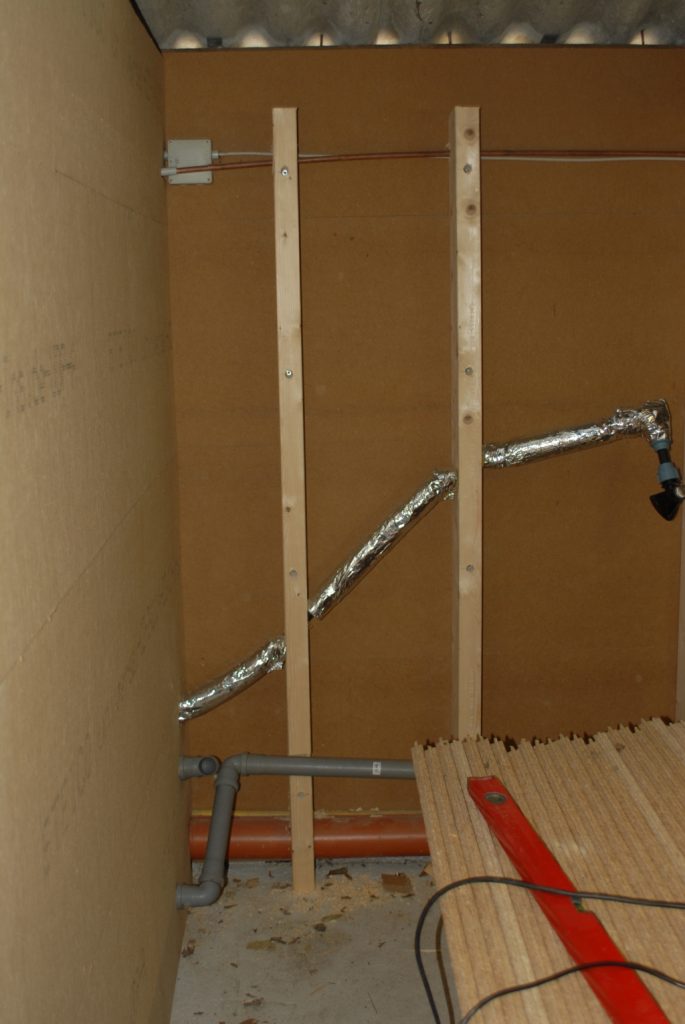
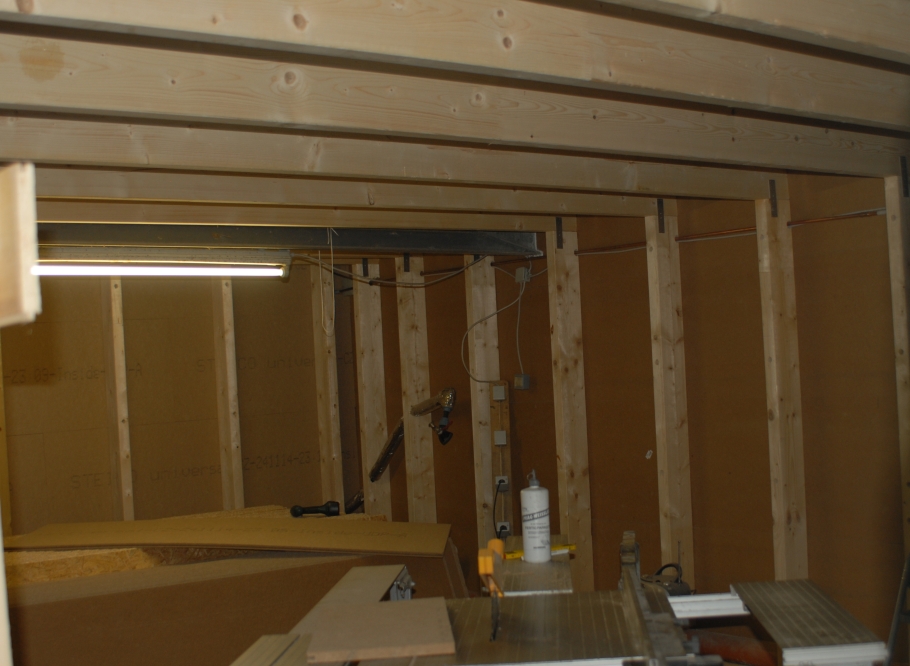
It is already important at this stage to integrate all supply and discharge lines into the walls if possible. Here you can see the (insulated) supply pipe for the well water as well as the waste water pipes for the waste water and the changing water, which is collected and then fed into our pond. It would be far too bad not to utilise this water.
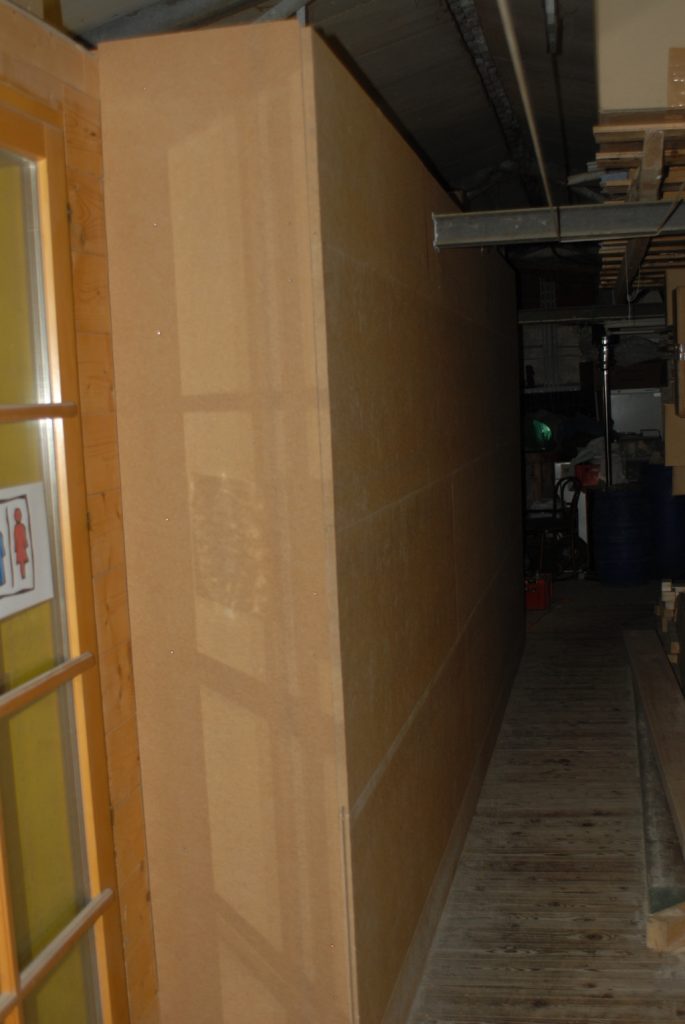
The free-standing wall is now being built here:
… which will look like this from the outside after the panelling. You can already see that the new room will be slightly wider than the old one (the entrance door to the anteroom is in the foreground), but also significantly shorter.
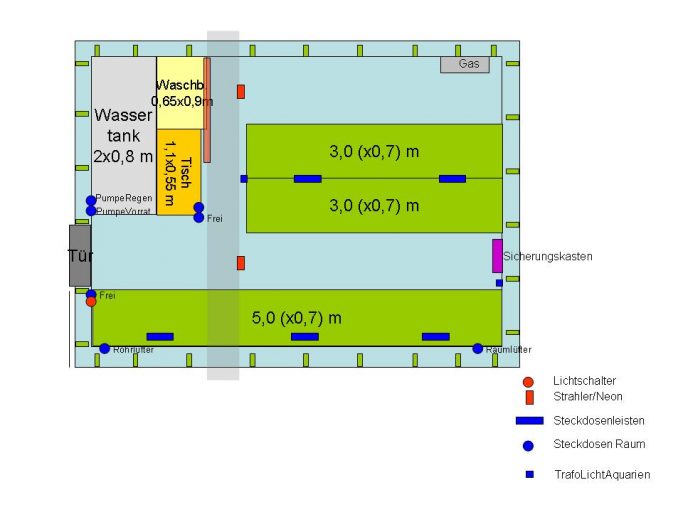
Now it’s time to present the plan for the room so that you can get a better idea of what is planned:
A total of 42 aquariums are to be installed in the breeding room. In the long row at the bottom, two rows of eight 50x60x35 tanks (WxDxH) and one 75x60x35 will be installed, in the front part of the block there will be three rows of two 150x60x35 tanks, and finally three more rows of six 50x60x35 tanks in the back. This makes a total of just under 5,800 litres gross, roughly the capacity that I currently have running in the old room.
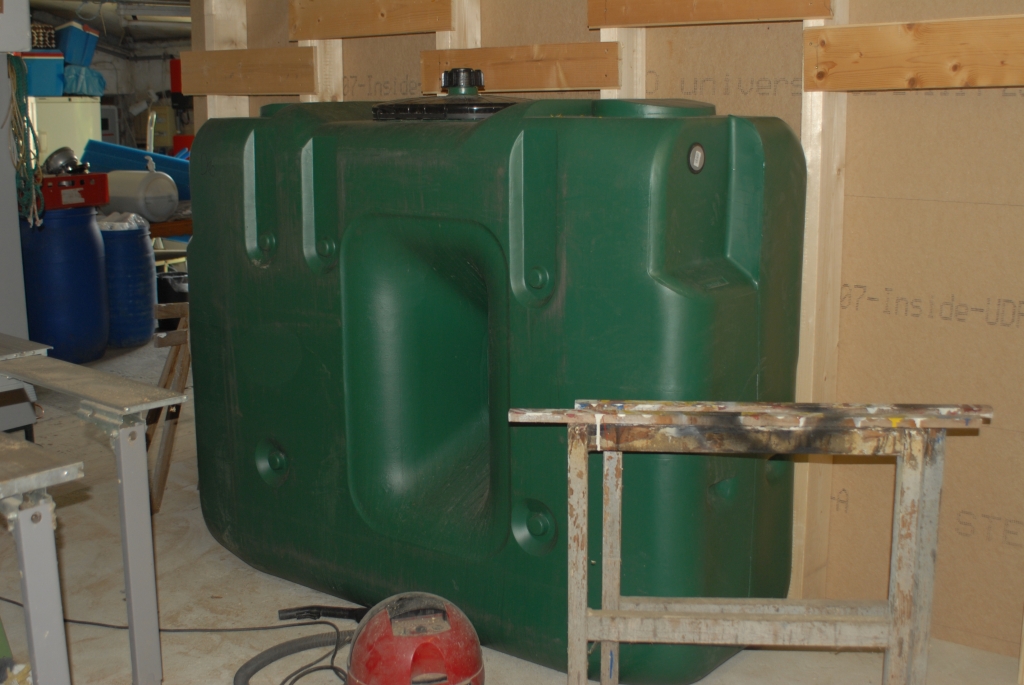
The room is slowly closing and you have to have already planned the further course of the construction very precisely so that you don’t forget anything (which cables belong where in which walls/ceiling) and so that everything is already in the room that you would definitely not be able to get into the room after the last wall has been installed because, for example, it would simply no longer fit through the door. In my case, this is the…
…tank in which the changing water for the aquariums is treated (1,500 litres). Theoretically, it would fit through the door, but in practice it would certainly not fit around the corner in the narrow anteroom.

